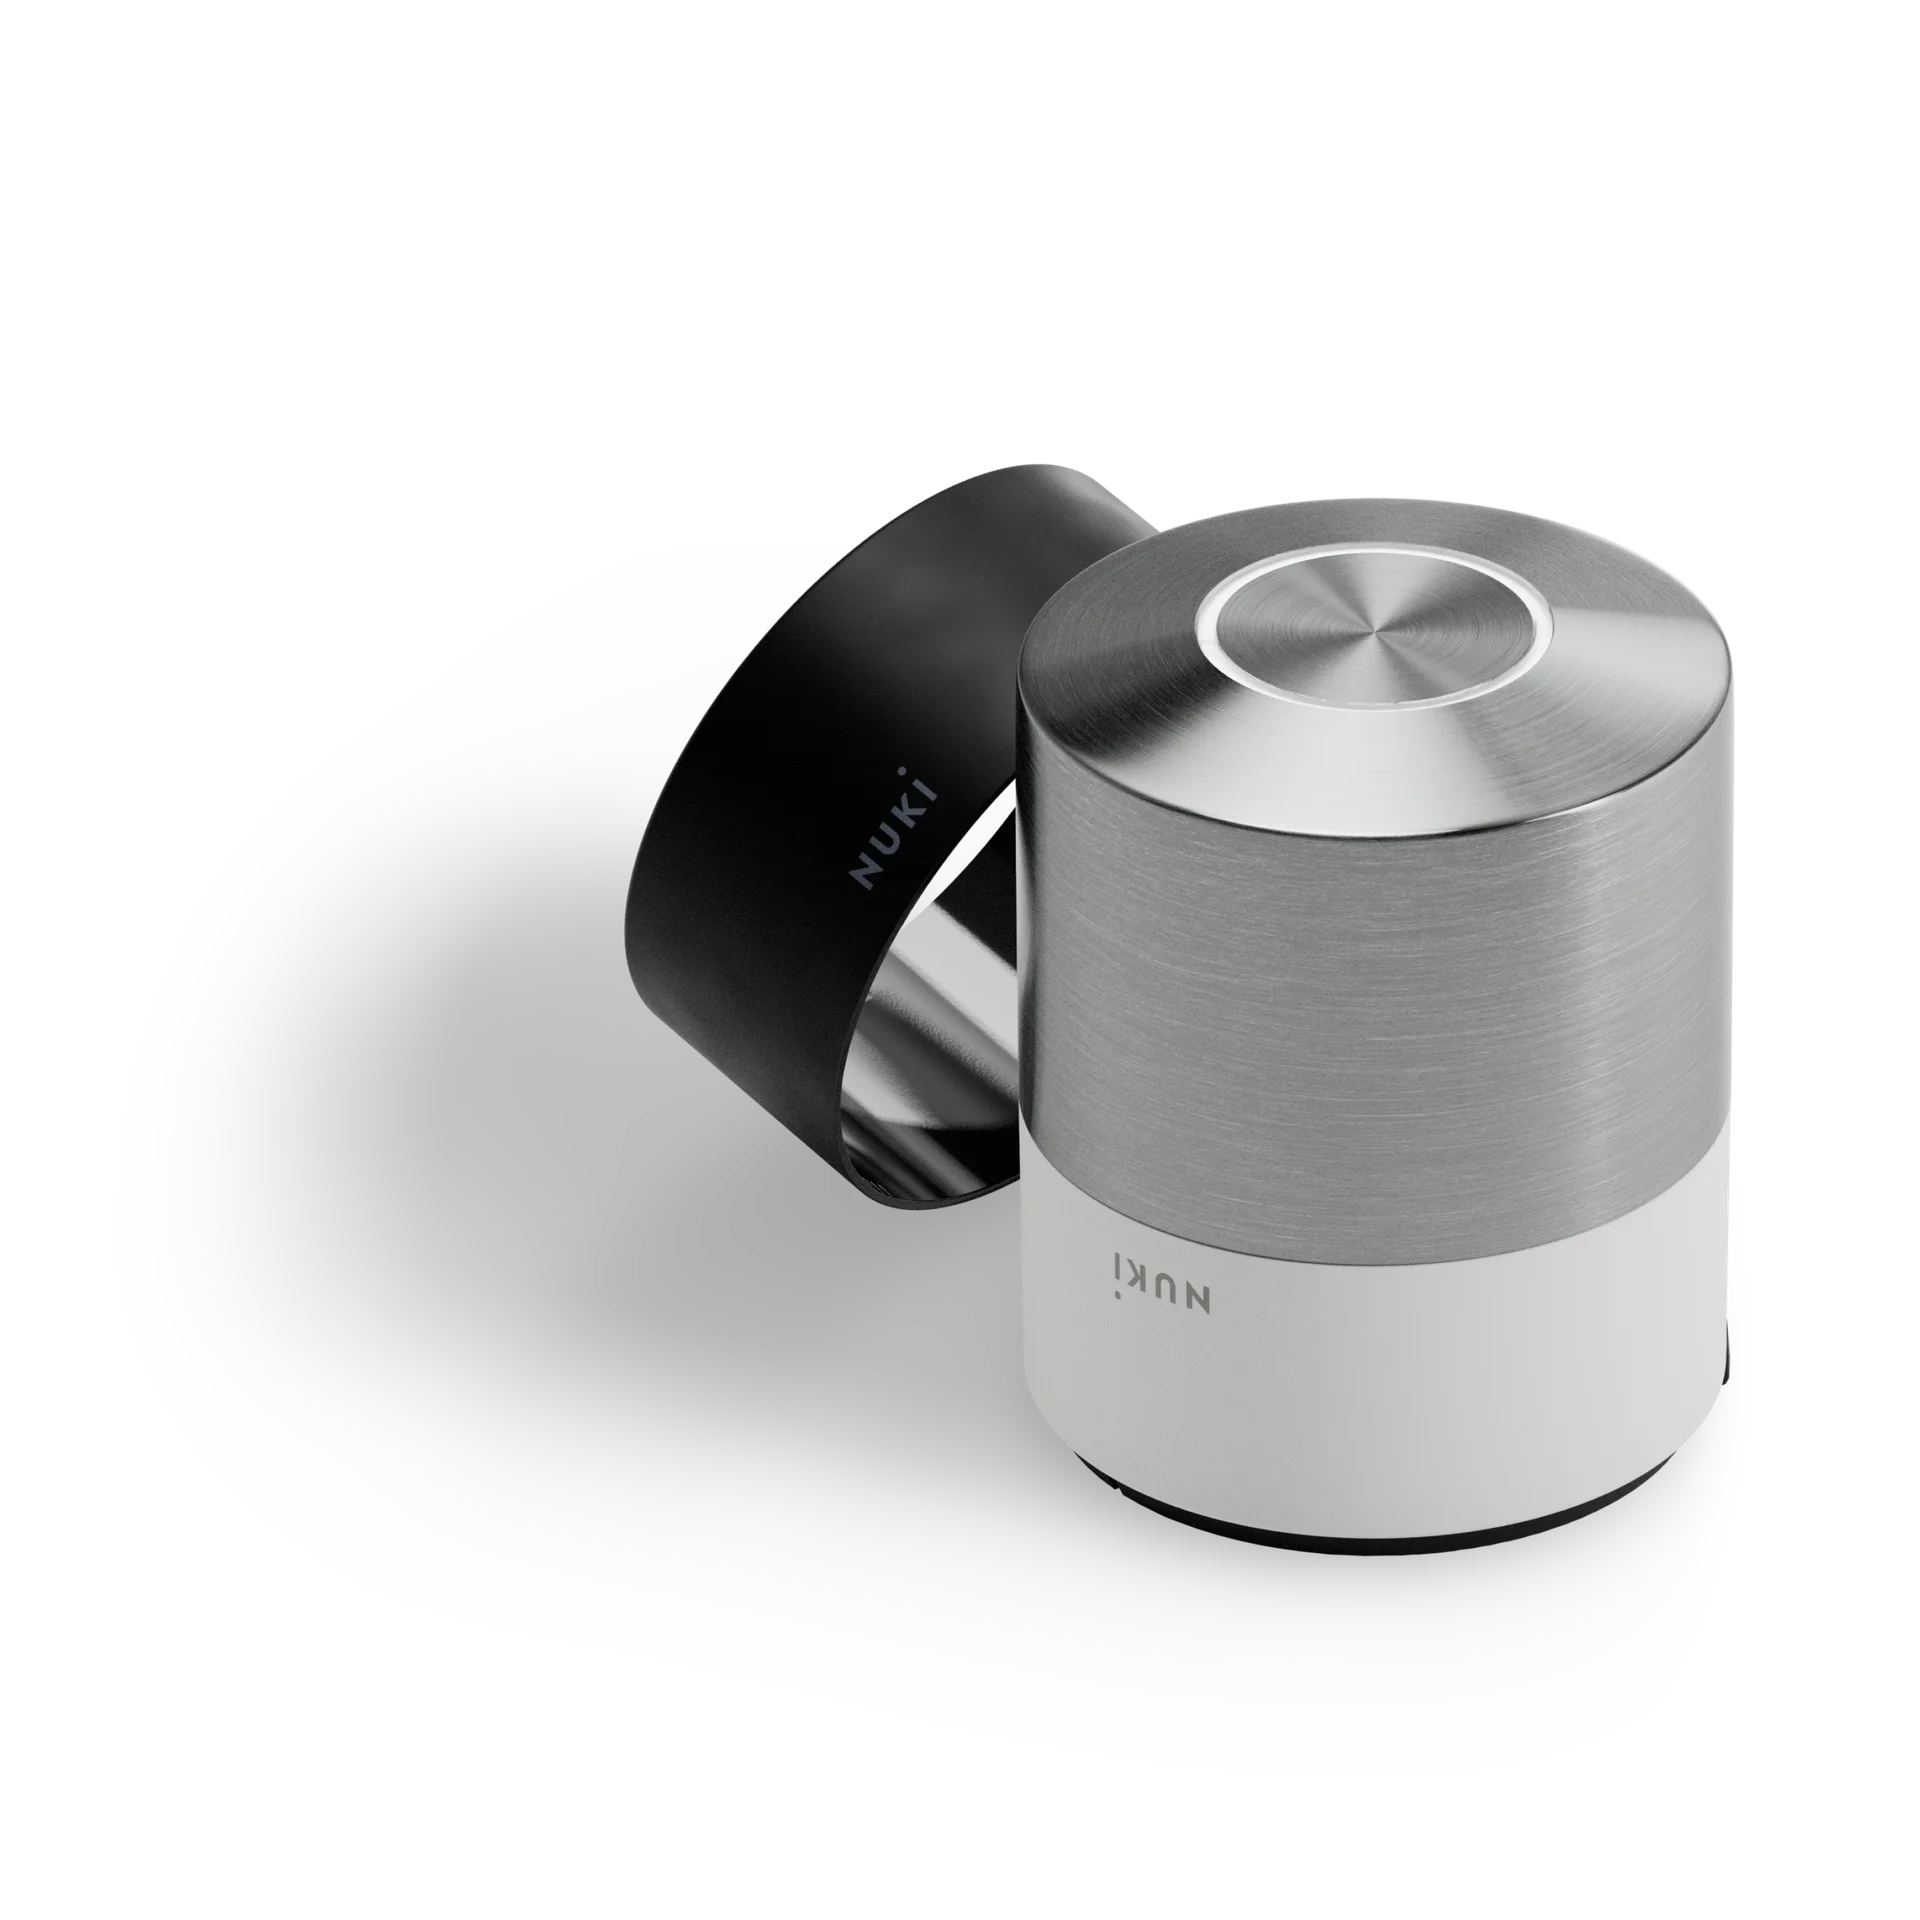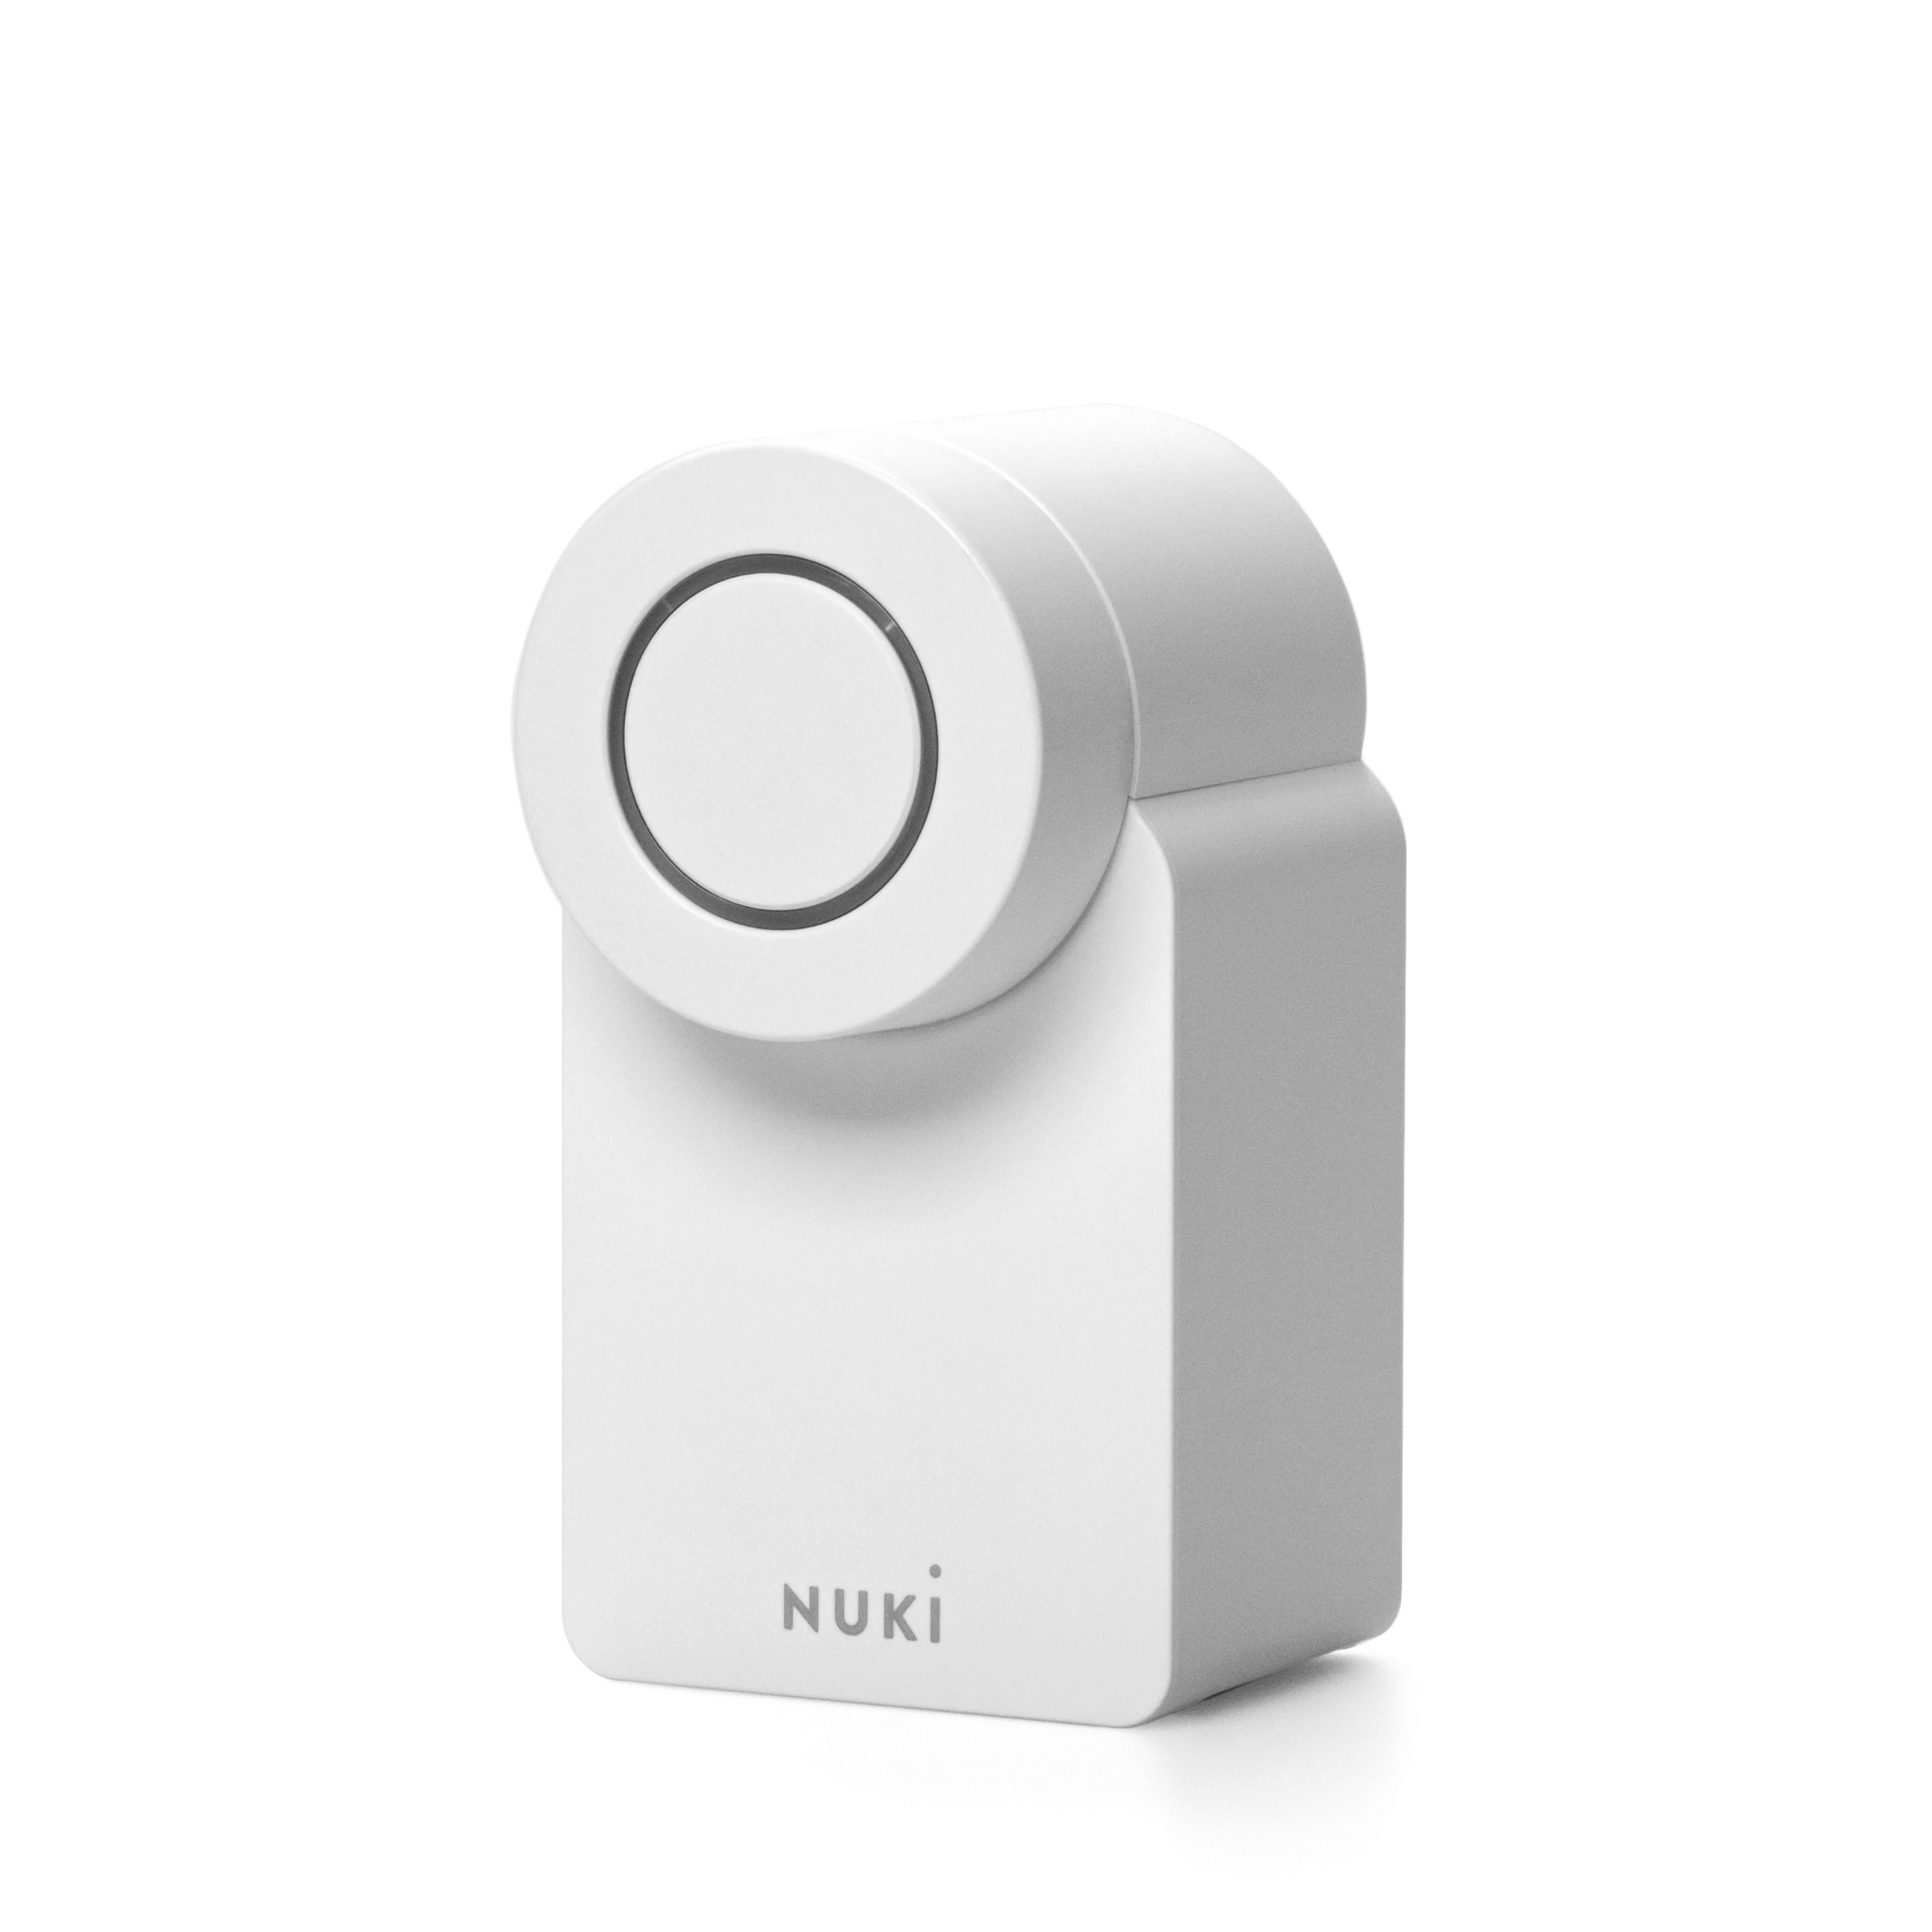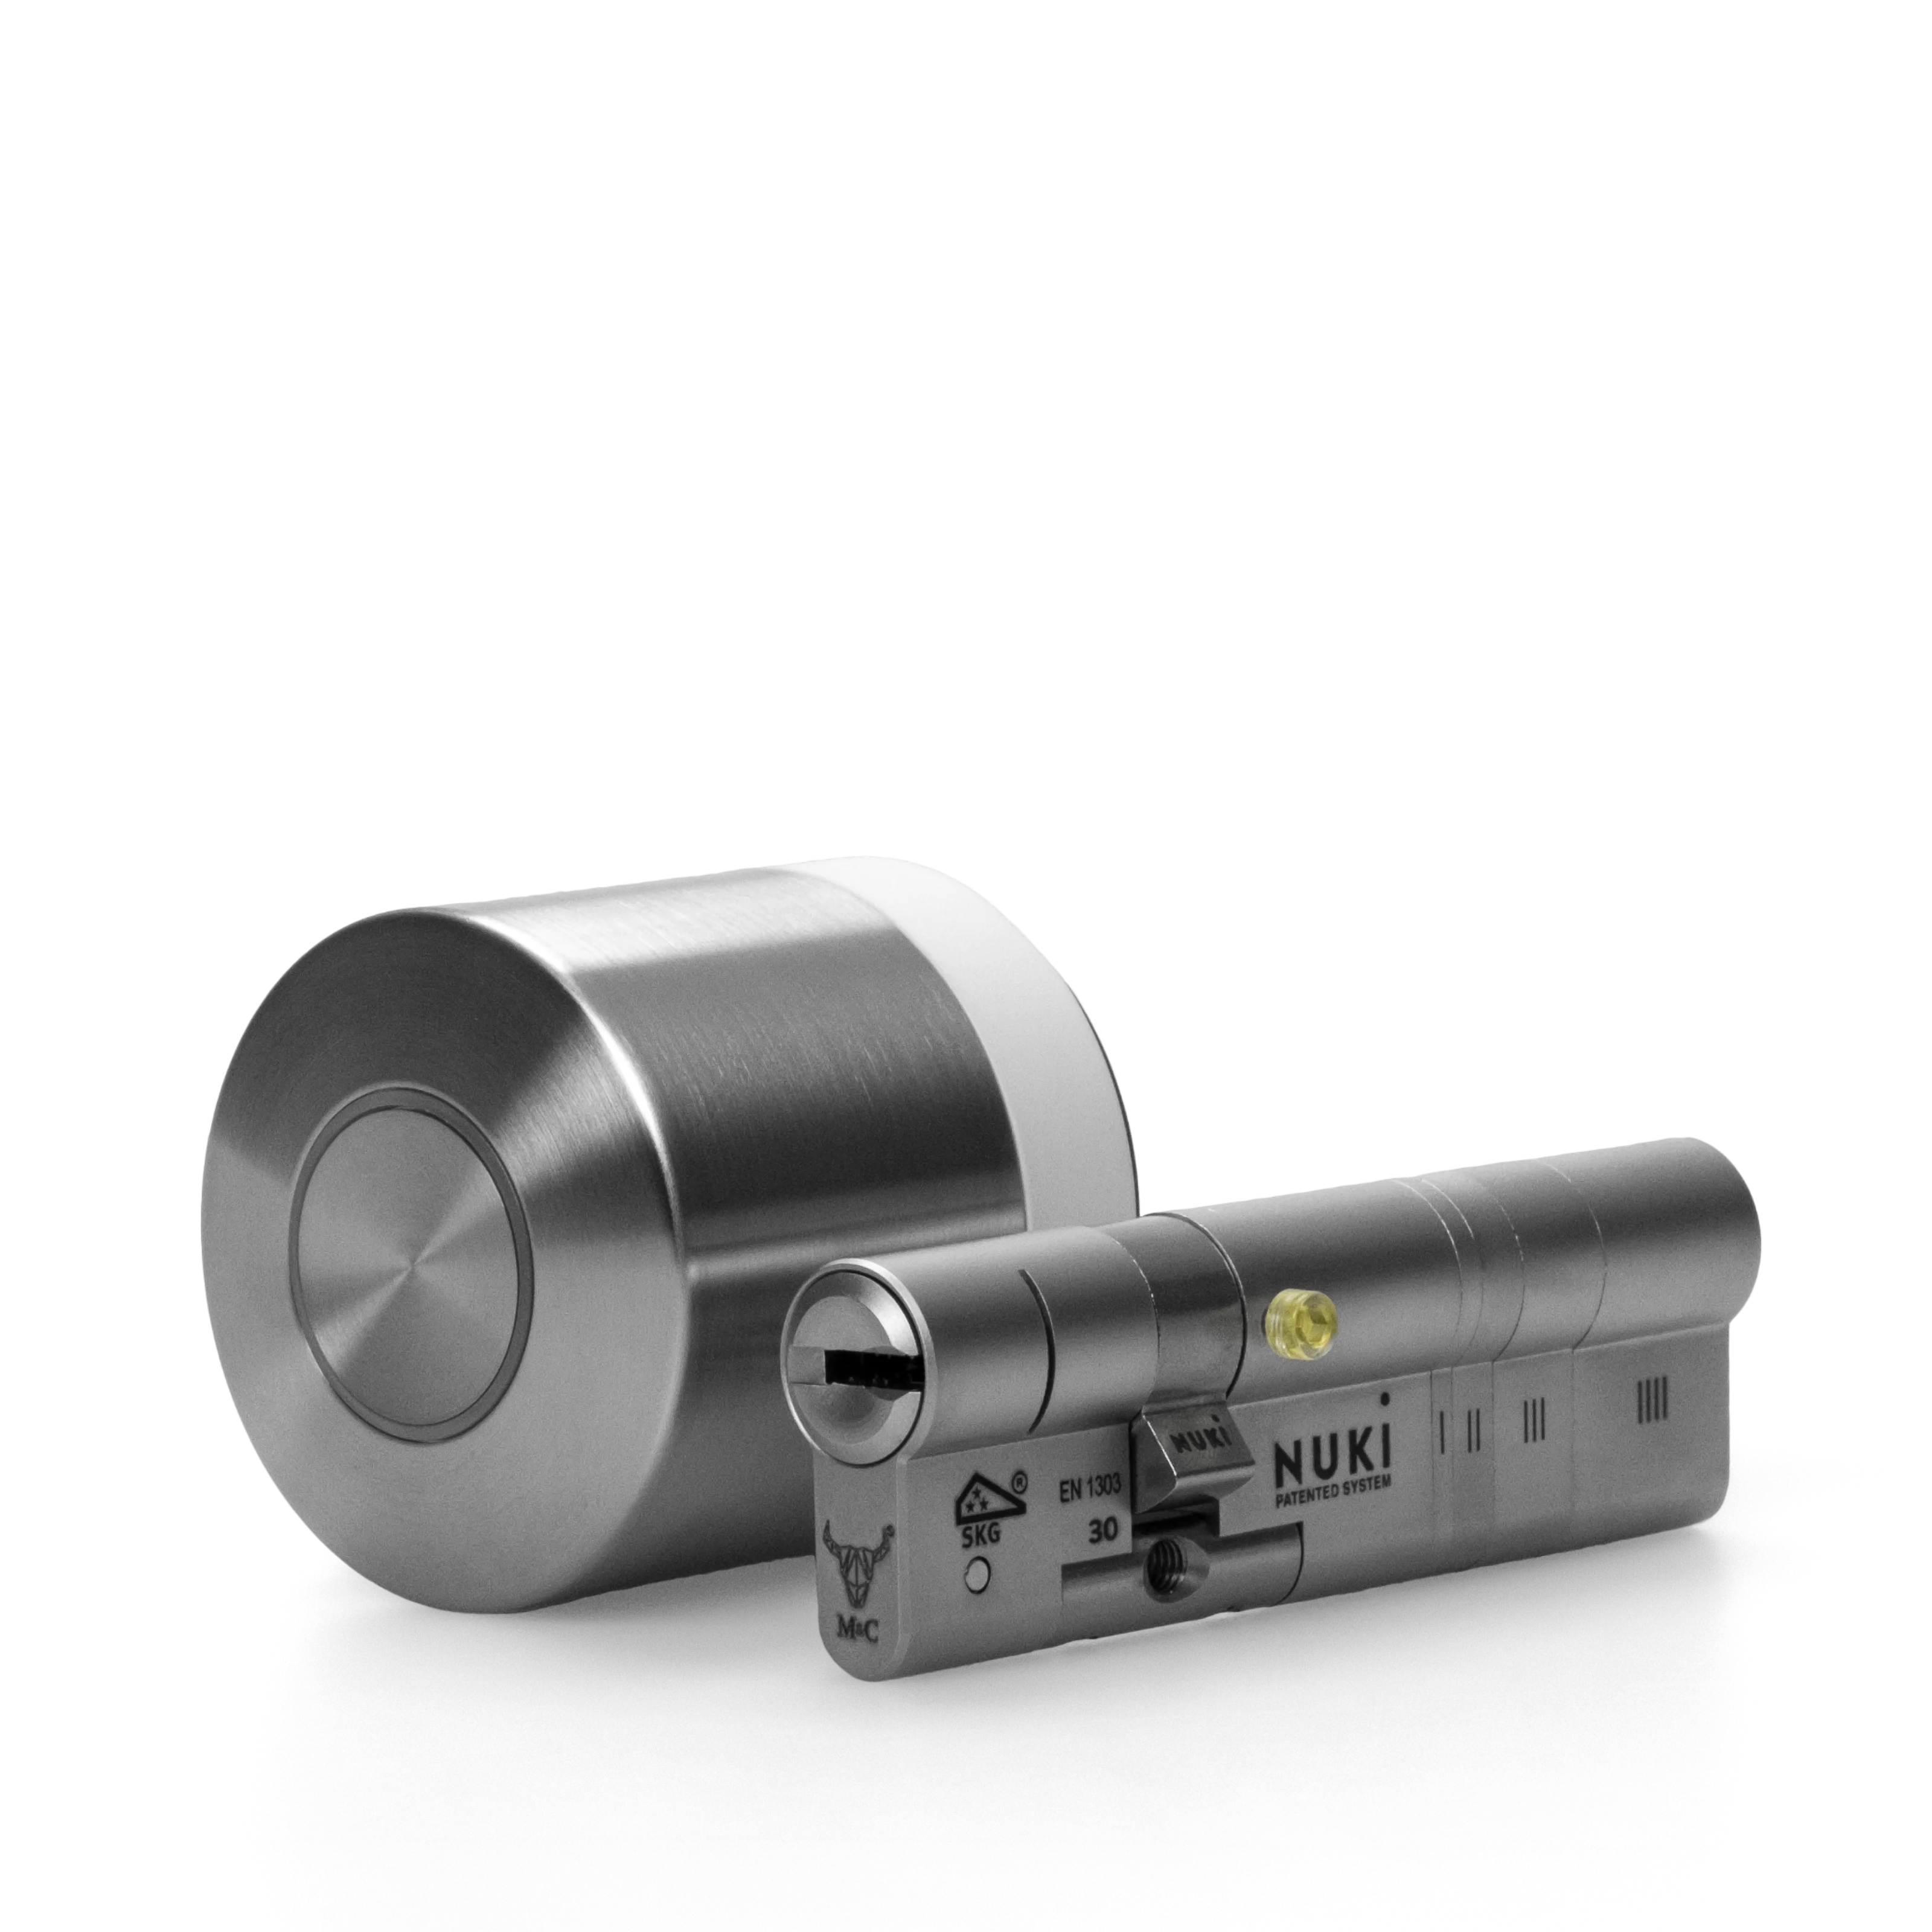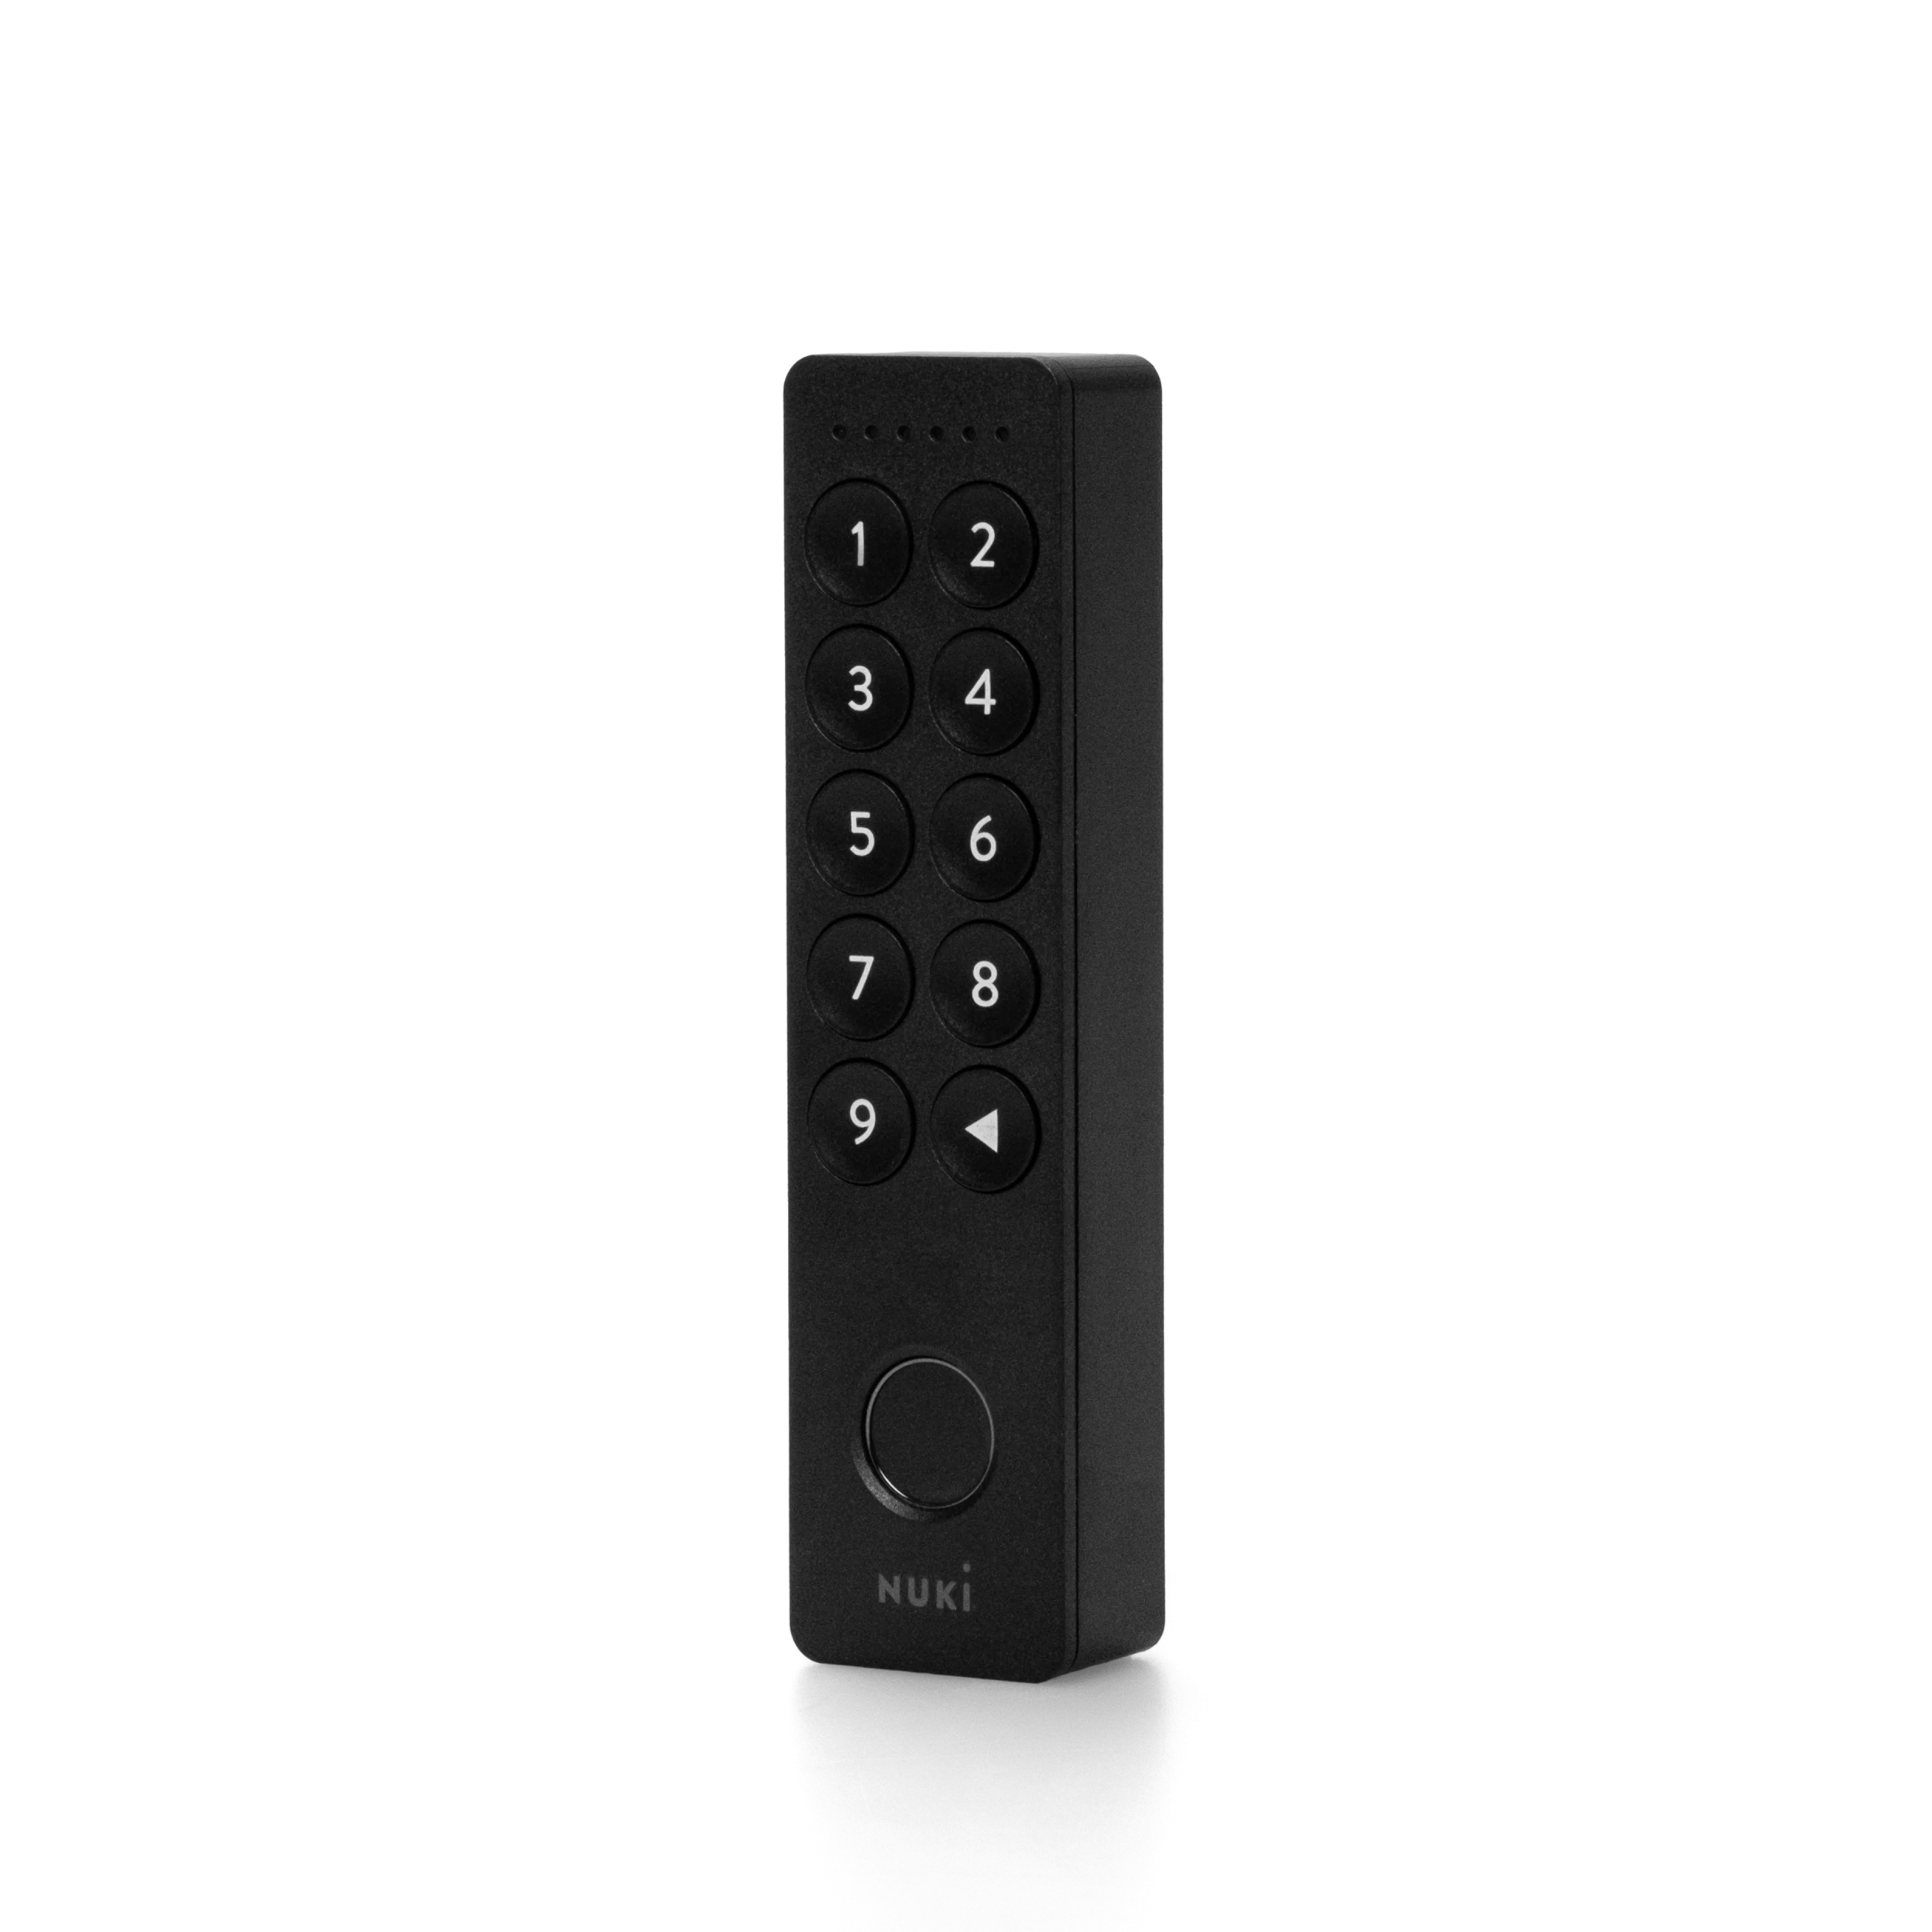
HomeKit is currently the topic of discussion. Since the second generation, Nuki also supports Apple’s own Smart Home system. But what’s the point? And how does the setup work? This is exactly what we explain in this article.
In short, all you need to do is click on the plus sign at the top right corner of the Home app and then select “Add device”. Scan the enclosed HomeKit code with the camera of your iOS device – you can also find the HomeKit code on the bottom of your Smart Lock. Afterwards, simply follow the instructions on the display.
If you have any problems with the setup, please get in touch with our customer service.
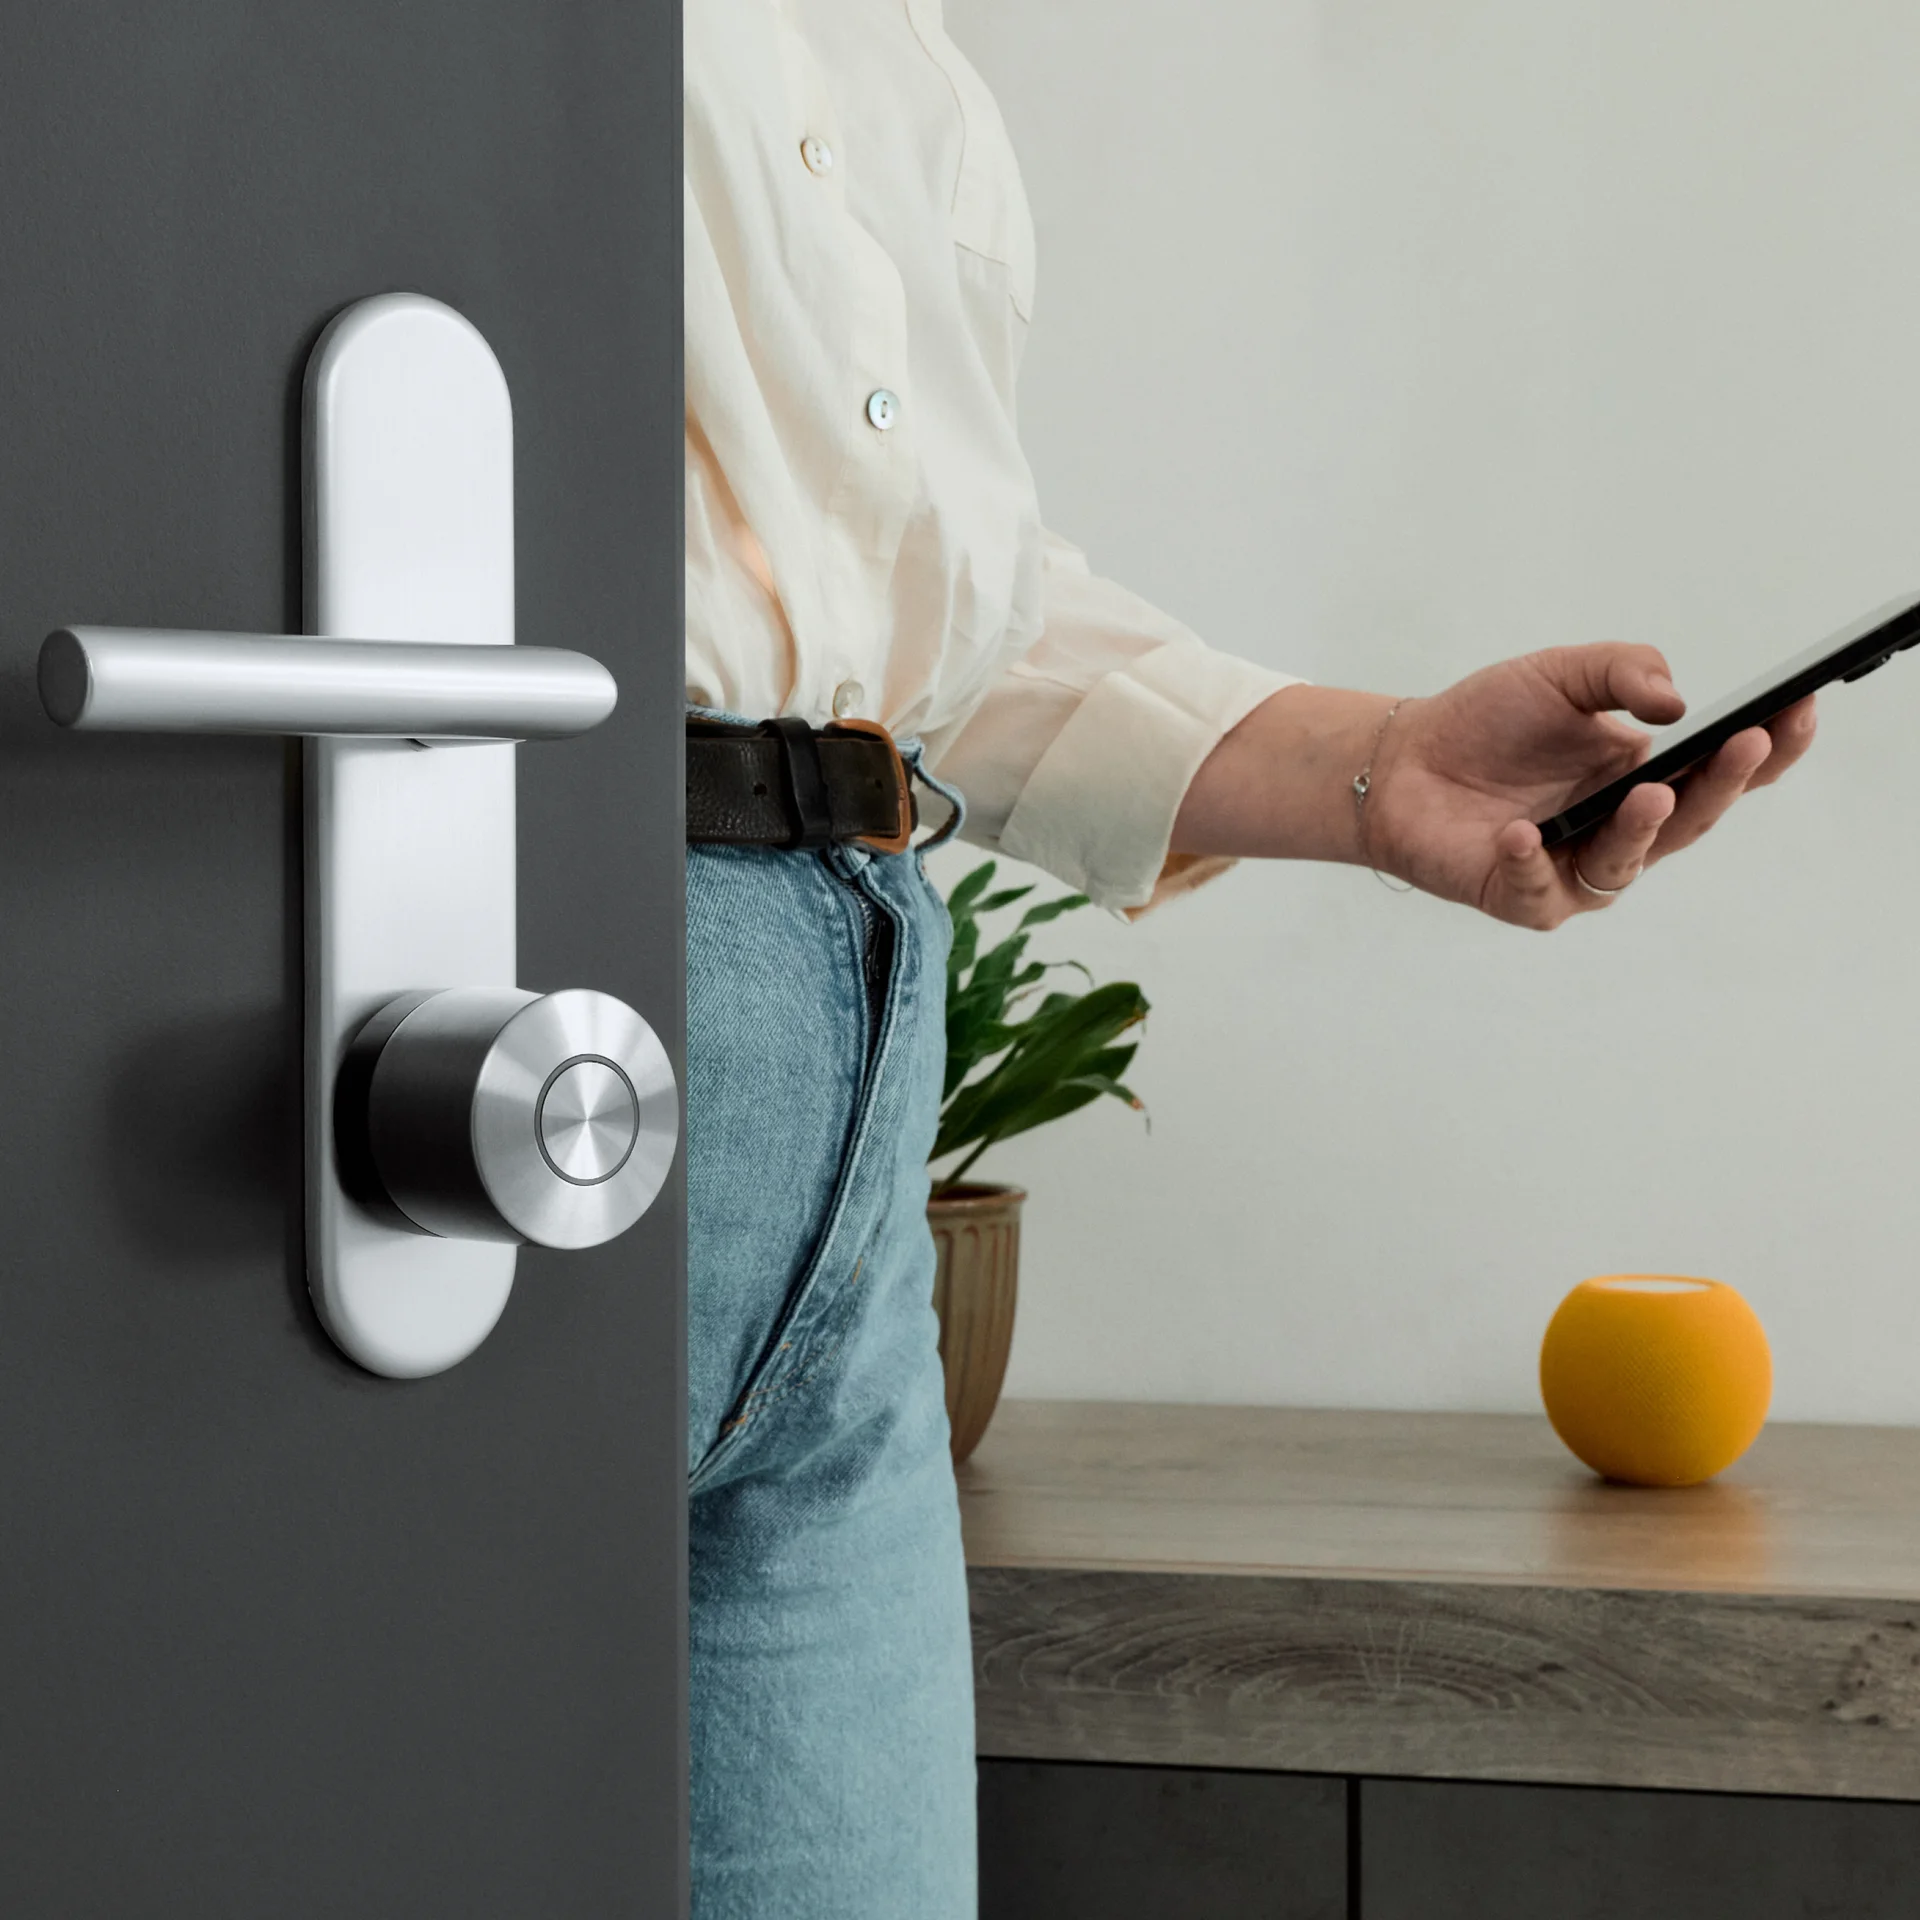
As already mentioned, your Nuki Smart Lock can still do its job without the Bridge. You can unlock and lock your main entrance door (or another door fitted with the Nuki Smart Lock) via the Apple Home app (or an alternative HomeKit app from a different developer).
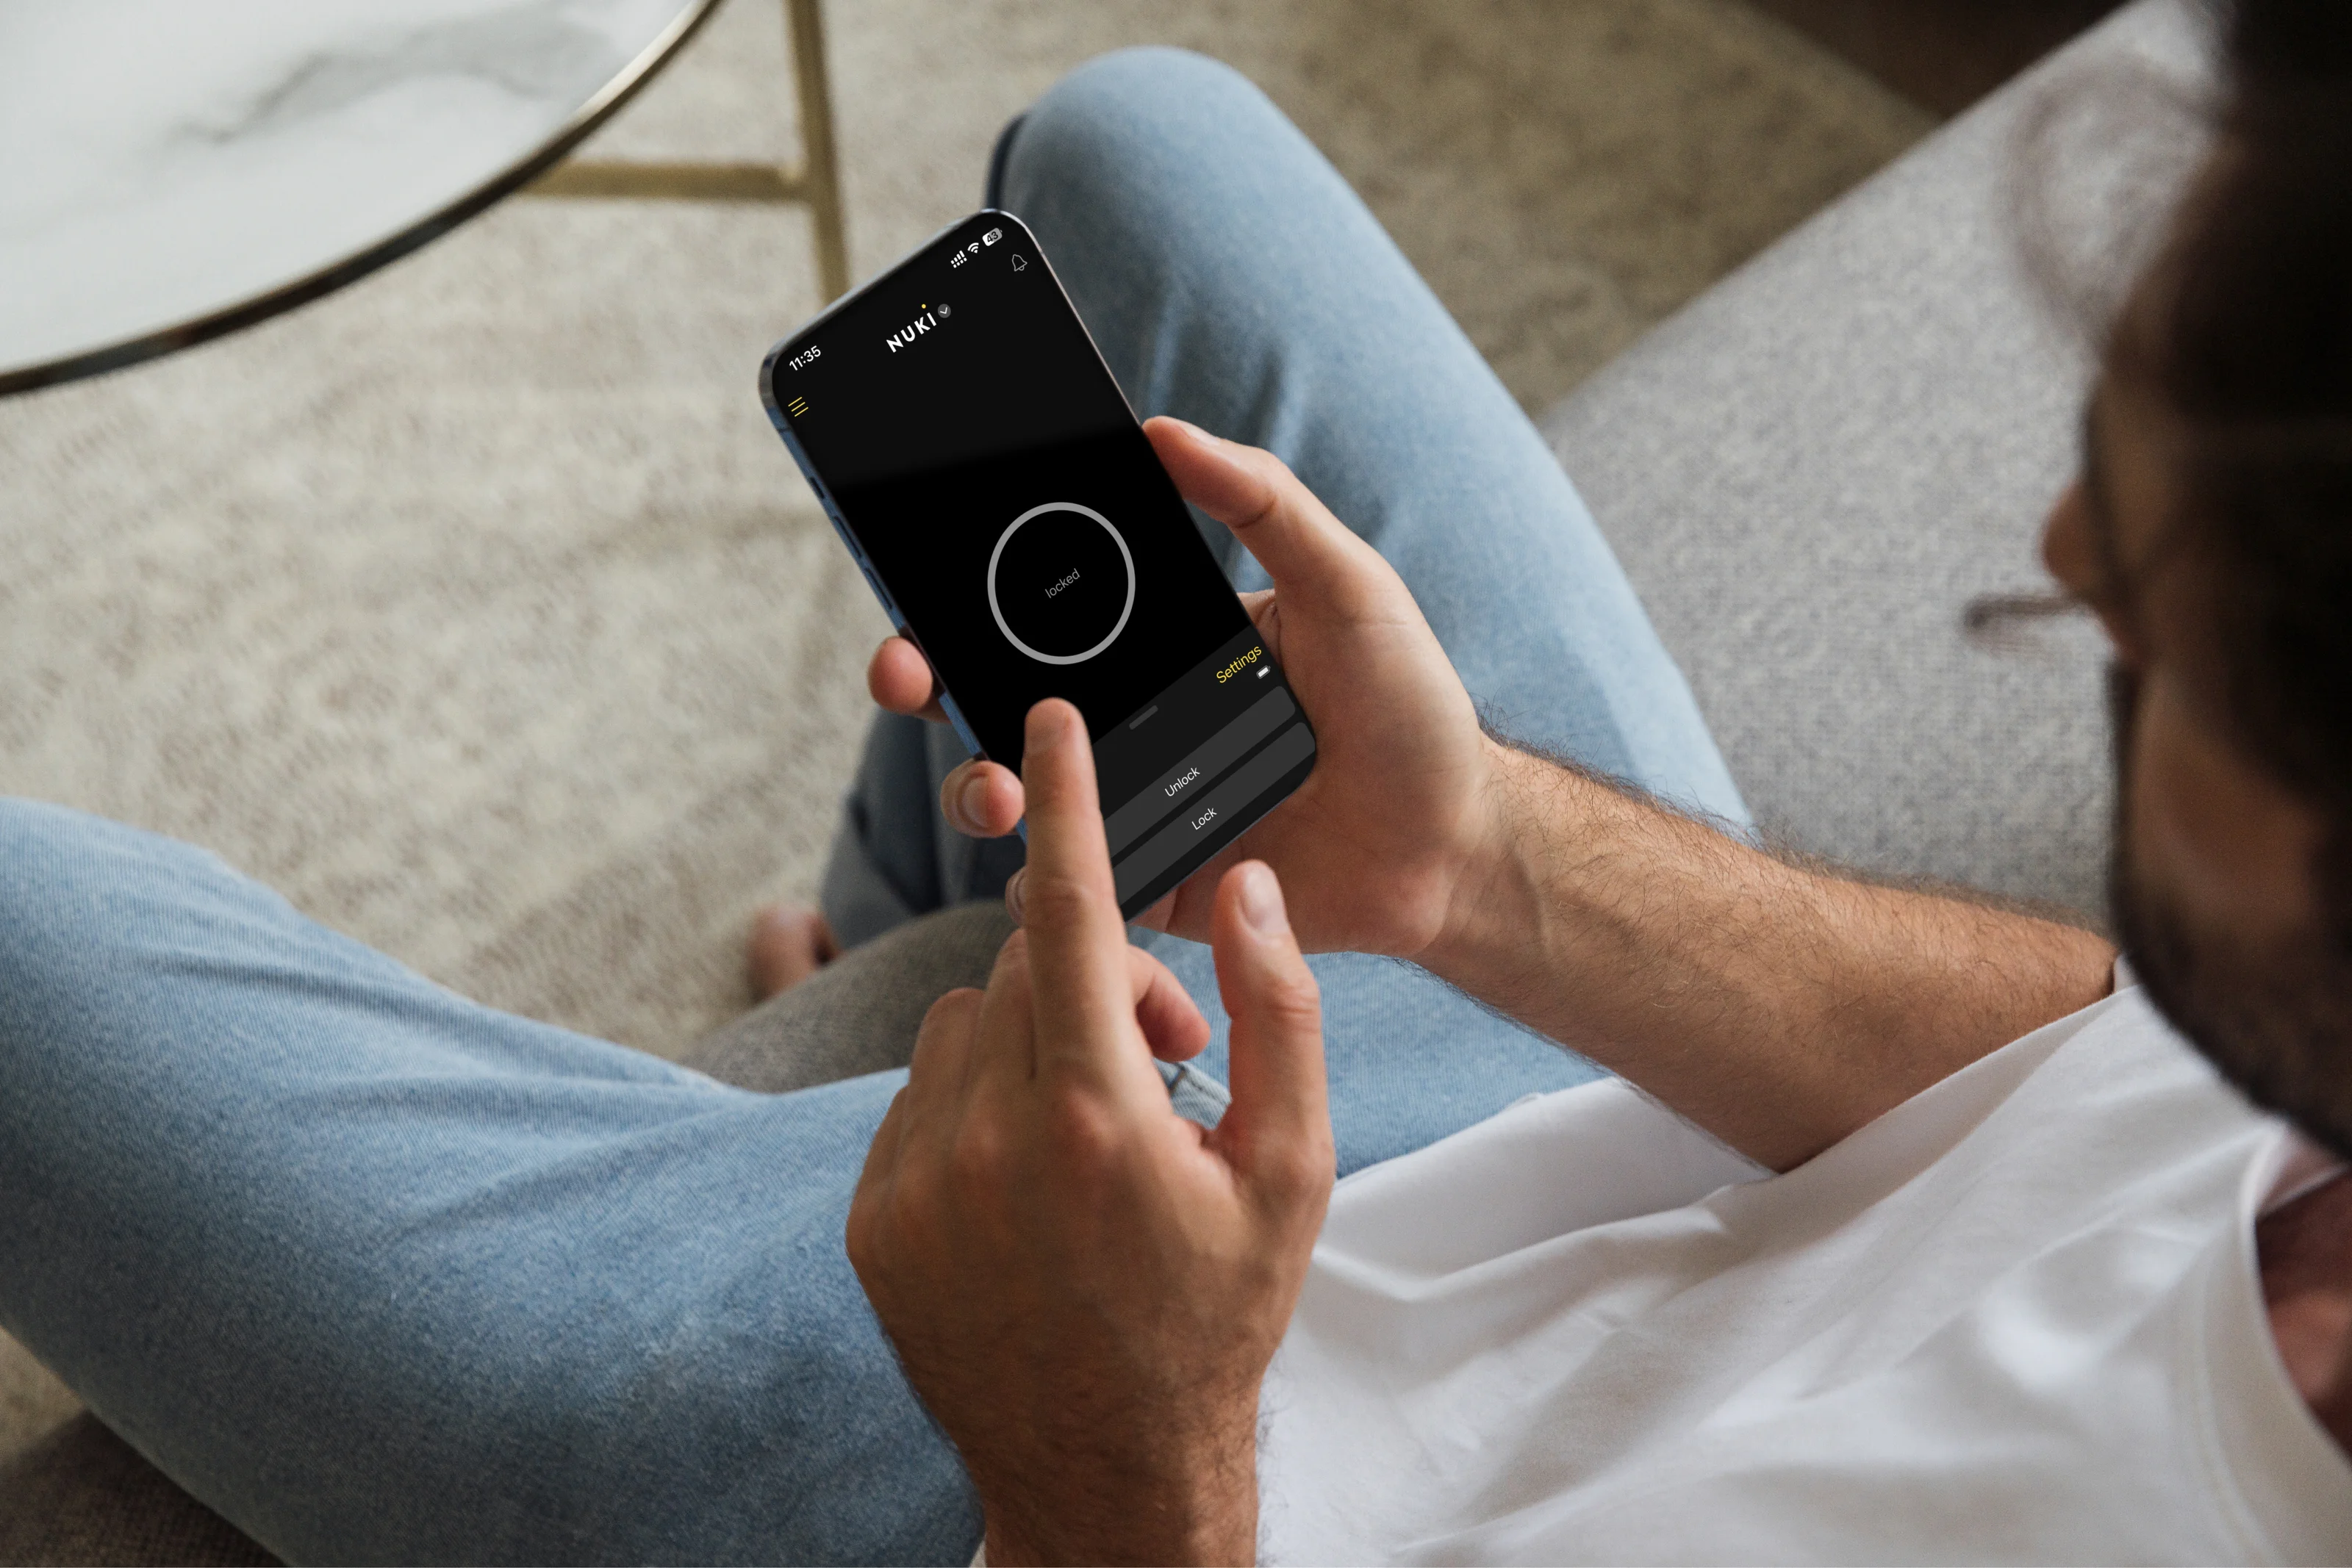
To do so, you just need to open your HomeKit app and then search for the entry for your Nuki Smart Lock. You can simply click on the symbol to lock your door.
Using HomeKit also opens up additional options for you. Not only can you operate the Nuki Smart Lock with the app and through the device itself, but also using voice commands to Siri. Not to mention that HomeKit offers many possibilities to connect your Smart Lock with other smart technology. For example, you can wake up your Smart Home when you come home and unlock the door. The light will automatically turn on, your favourite music will start playing from the HomePod, the heating will set itself to a comfortable temperature, and so much more. Or you can set the app to automatically lock and unlock your main entrance door at specific times. There are countless options.
When operating the smart door lock by Nuki with HomeKit and without the Bridge, you’ll notice that, at the moment, limited options exist when it comes to using HomeKit together with Smart Locks. HomeKit only supports two statuses when used to manage smart door locks such as the Nuki Smart Lock.
As a result, “Unlock” always means “Open door” in HomeKit. Unfortunately, this is a restriction you’ll have to learn to live with if you’re operating your Nuki Smart Lock without the Bridge. In contrast, when using the Bridge together with the Nuki app, you can manage four statuses: Lock, Unlock, Open door, as well as “Lock ‘n’ Go”.
And there’s one more thing to consider: The Nuki Smart Lock connects to your HomeKit system via Bluetooth. This means that it must be within Bluetooth reach. In ideal conditions, this reach extends to about 10 m. In practice, obstacles such as walls can further limit this distance. You should therefore make sure that your central device, whether it’s your Apple TV, HomePod, or iPad, is positioned as close to the front door as possible.
There’s a simple answer to this question. The Nuki Bridge is not absolutely essential for operating your Smart Lock via HomeKit. It directly connects to your central HomeKit device – a stationary iPad, a third-generation or newer Apple TV, or a HomePod – via Bluetooth. As a result, the “detour” via the Bridge isn’t necessary.
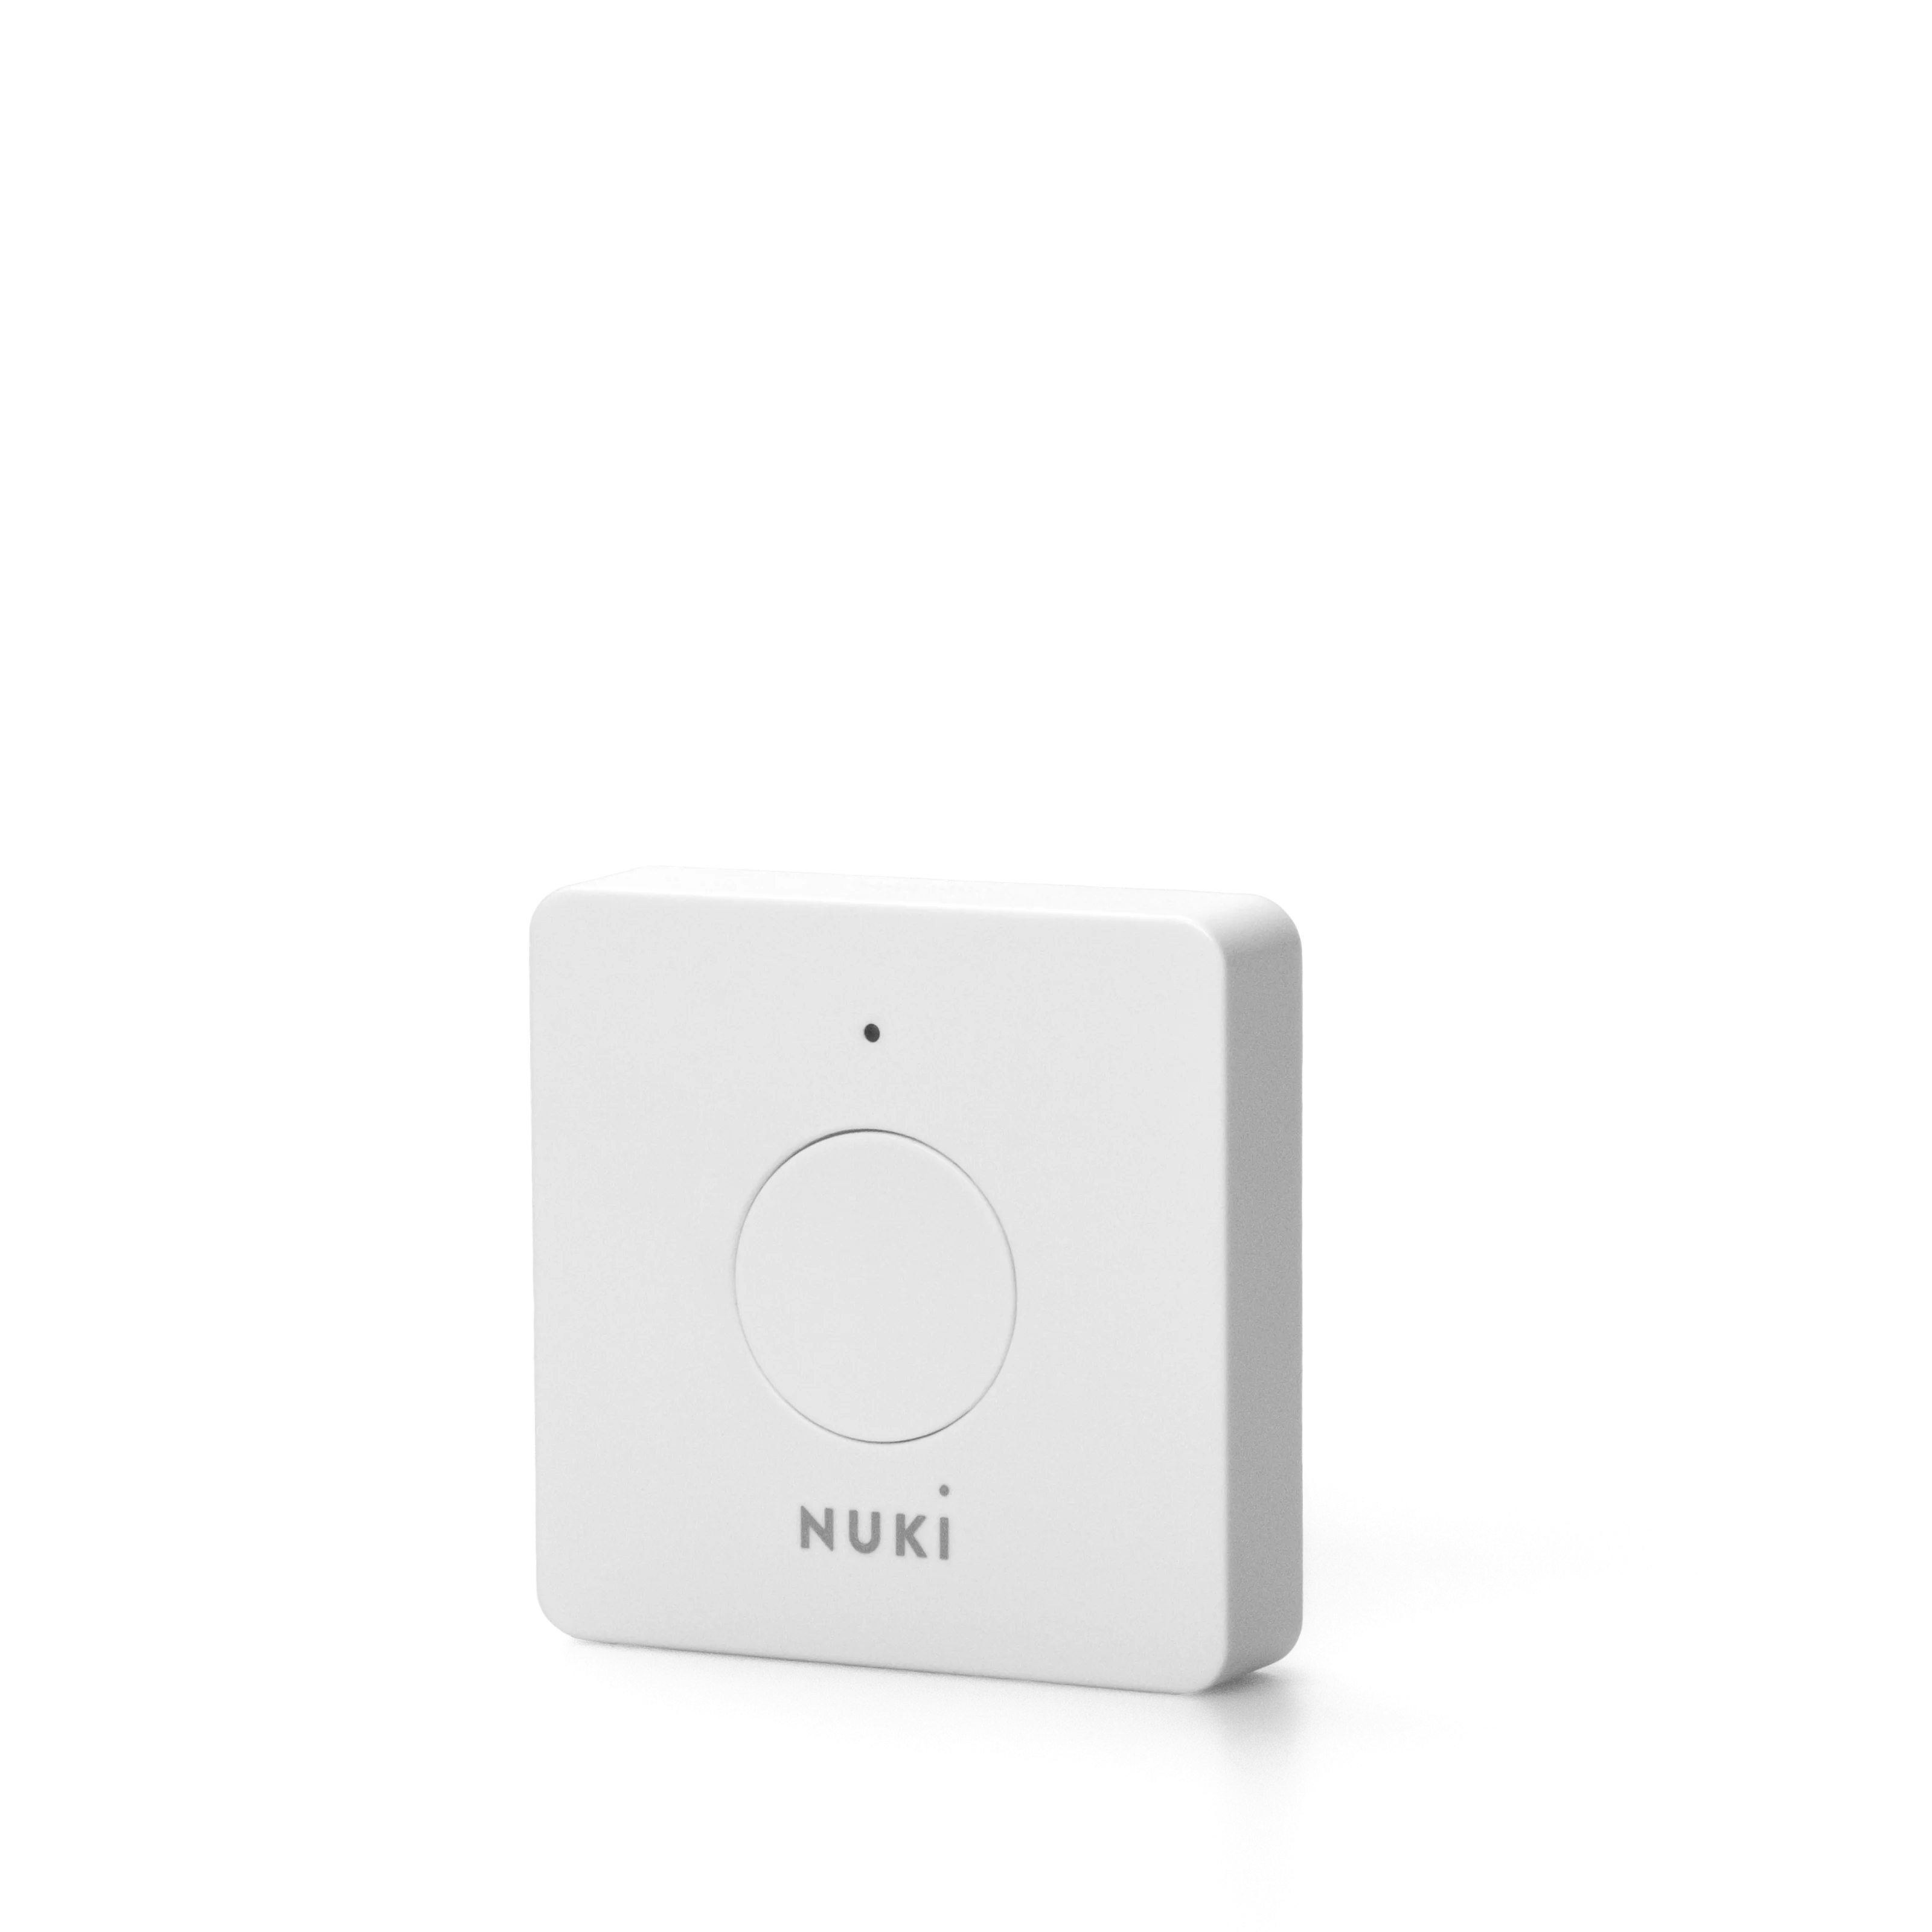
If you want to take advantage of the full range of features offered by Nuki, you can of course add the Nuki Bridge to a Smart Lock. You can buy it separately, without a Smart Lock, from our online shop. This will allow you to benefit from all the features that Nuki offers – not just the restricted options available through Apple with the HomeKit.